Openstack: play with quota

Short introduction to quota in OpenStack.
See below the default quota per tenant:
metadata_items: 128
volumes: 10
gigabytes: 1000
ram: 51200
security_group_rules: 20
instances: 10
security_groups: 10
injected_file_content_bytes: 10240
floating_ips: 10
injected_files: 5
cores: 20
If you want to modify a specific value for every tenant edit your nova.conf like so (example for the number of instance):
--quota_instances=1000
After that, restart your nova-api service.
All the flags availables:
quota_cores=20
quota_floating_ips=10
quota_gigabytes=1000
quota_injected_file_content_bytes=10240
quota_injected_file_path_bytes=255
quota_injected_files=5
quota_instances=10
quota_metadata_items=128
quota_ram=51200
quota_security_group_rules=20
quota_security_groups=10
quota_volumes=10
Now if you want to modify a precise quota for a specific tenant you need to tell the database. Example for the number of instance for the tenant 5172f50226f647ebb03ca4e4e82d056d. You should always use the tenant id from the keystone tenant-list output.
$ sudo nova-manage project quota --project=5172f50226f647ebb03ca4e4e82d056d --key=instances --value=20 |
This will affect the table quotas in your nova database.
mysql> SELECT * FROM quotas; |
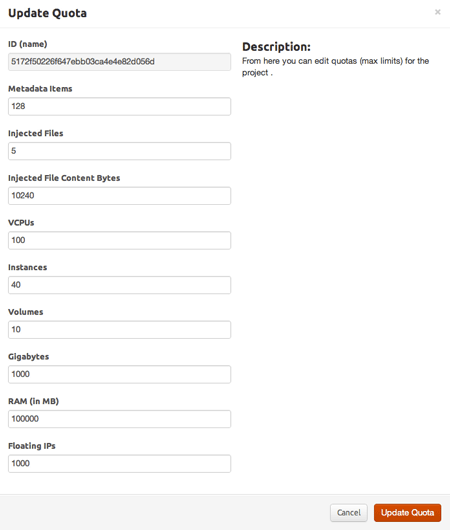
Of course this is also available from the dashboard, go to Admin > Project > Edit project > Modify Quota

Configuring quotas from the Dashboard has the same effect as the nova-manage command.
Et voilà! As you can see it’s really easy. As always it’s a quick tip but hope it helps ;)
Comments